Tp link extender wa855re setup Guide For Home Network
Before performing the setup process of a Range Extender, a user has to find an optimum location where he can place his Tp-link Range Extender. The spot where a user wants to fix his extender should be away from the obligations that can weaken the signals between your extender and the main router. The setup process of a tplinkrepeater.net window can also be performed through the web browser of your computer. A user has to type www.tplinkrepeater.net on the web address of a browser when the first time he configured his extender.
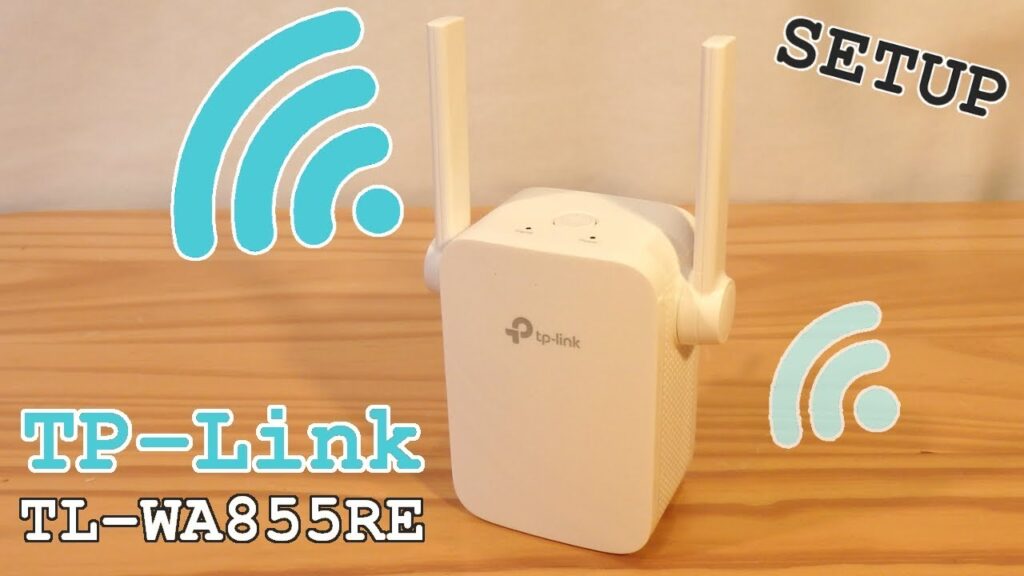
Steps to setup Tp-link wa855re Range Extender in your home network
- To begin with the Tp-link Extender setup process, a user has to power up the Range Extender.
- Connect your Range Extender directly to an available Electric outlet near your main router.
- Now, wait until the Power LED of your Tp-link Range extender turns solid which will show that your device has successfully turned on.
- Go to your computer, and connect your computer to the extender via extender or ethernet.
- Open the Wi-Fi list of your computer, and you can find the default SSID of your Tp-link extender on the Wi-Fi list. You can find the default Network name of your extender on the product label of your extender.
- Type down the default Wi-fi password that will also be present on the product label of your Tp-link Extender. Click on the Connect option.
- Once you are connected, open a web browser on your computer and type www.tplinkrepeater.net on the web address of your browser. In case you encounter any kind of error you can also type 192.168.1.1 as the URL of your browser.
- If this is the first time you are connecting to your router, you automatically will be redirected to the Setup Wizard of your extender.
- When you get connected to the management page of your Tp-link Extender, create a log-in password for your Tp-link Extender login window. Make sure that you are fulfilling all the requirements to create a log-in password for your extender.
- When you are done typing the password for your Tp-link Extender, click on the Next button. Your range extender starts scanning for the available nearby Wi-Fi network.
- The list of available Wi-Fi networks gets listed down on your screen, select your default 2.4 GHz networks and select it. Create a Wi-Fi password for your network and then click on the Next button.
- Repeat the above step for the 5 GHz network and click on the Next button.
- The Wireless Settings page appears on your screen from which you can customize the Wireless settings of your Extender network. When you are done customizing the Wireless settings of your network, click on the Next button.
- Now, review the Summary page and double-check all the settings you configured.
- Click on the Save button and the extender will start the reboot process to apply the settings.
Note: While customizing the Wireless Network a user can also hide his Wi-Fi network by selecting the “Hide SSID Broadcast” option to avoid unwanted users from accessing the Wi-fi network.